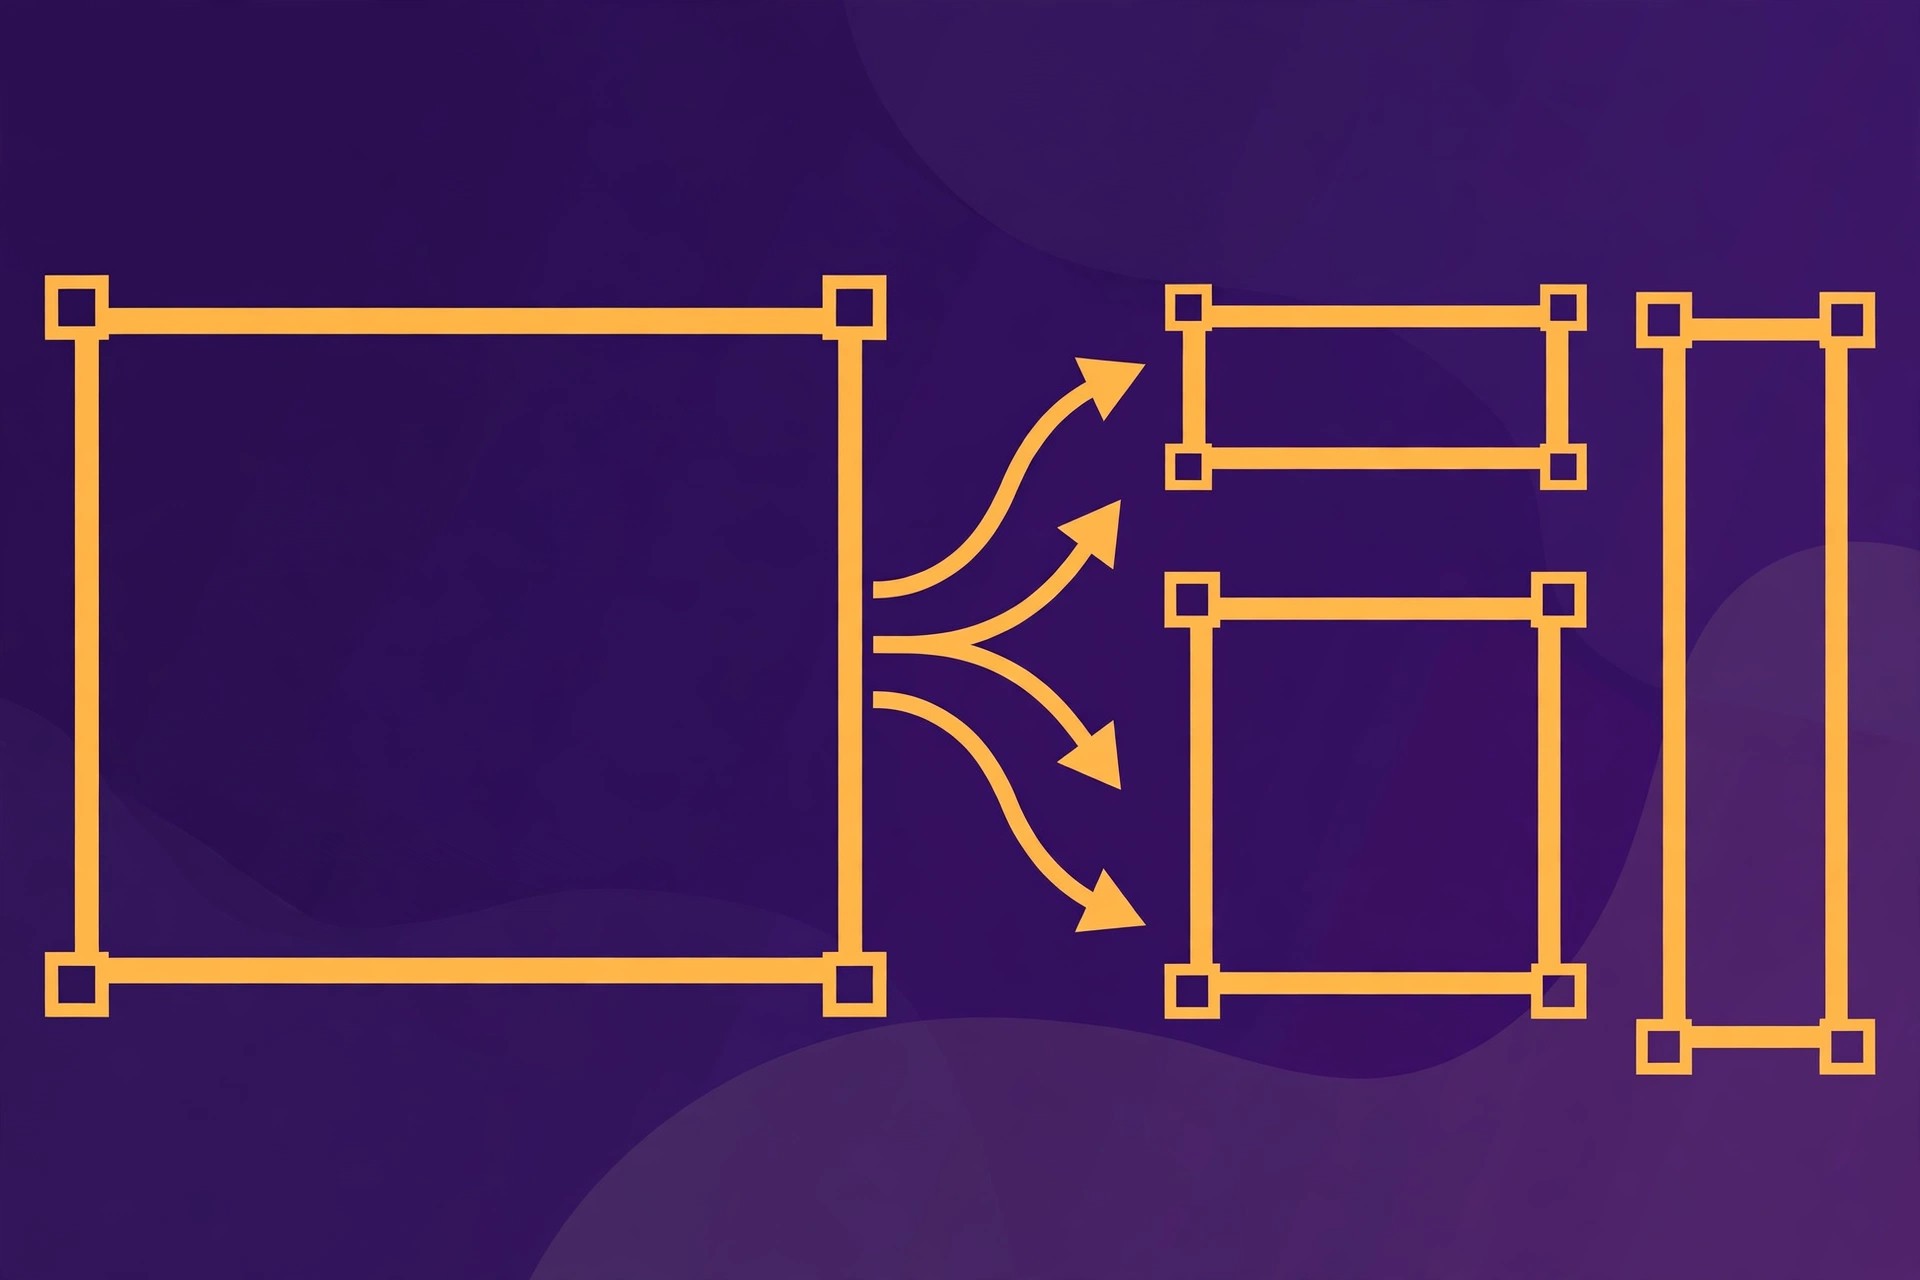
How to Resize an Image: Exact Dimensions for Web, Social Media and Print
You upload a photo, and the website crops off someone’s head. Instagram squeezes your poster into a blurry square. A print shop rejects your file for being too small. Almost every one of these frustrations has the same cause: the image was the wrong size for the place it was going. Resizing is not just making an image smaller — it is matching its pixel dimensions to the exact space it will fill, so it looks sharp, loads fast, and never gets cropped or stretched.
Why image size matters more than you think
Every screen and every platform has a fixed slot for your image. When your file does not match that slot, something else decides what happens to it: the platform crops it, stretches it, or shrinks a huge file down — usually badly. A 4000-pixel phone photo displayed at 800 pixels wide wastes about 95% of its data, which means slower pages, heavier emails, and thumbnails that look soft because the platform did the resizing for you. Getting the dimensions right before you upload puts you back in control: your image arrives exactly as you framed it, at a file size that loads quickly, with no surprise cropping.
Resize, crop, or compress — what is the difference?
These three words are often mixed up, and using the wrong one causes most resizing mistakes:
- Resizing changes the pixel dimensions of the whole image. Everything stays in frame; it simply becomes smaller or larger.
- Cropping cuts away part of the image to change its shape or composition. Cropping a wide photo into a square removes the sides.
- Compressing reduces the file size without necessarily changing the dimensions. Resize first to the final dimensions, then compress for the smallest sharp file.
If your image looks stretched, the aspect ratio was changed during resizing. If important content is missing, it was cropped — either by you or by the platform.
Method 1: Resize an image online in your browser (fastest)
The quickest way, with nothing to install, is a browser-based resizer such as our free Image Resizer. Here is how it works:
- Open the tool page and drop in your image, or click to browse for it. JPG, PNG, GIF and WebP files are supported.
- Enter the exact width and height you need in pixels — or pick one of the built-in presets for social media, HD, and thumbnails.
- Keep the aspect-ratio lock switched on. With it on, typing a new width automatically calculates the matching height, so nothing gets squashed.
- Choose your output format: keep the original, or convert to WebP for a smaller web file.
- Preview the result, check the new dimensions and file size, then download it.
Because the tool runs entirely in your browser, your image is never uploaded to a server — private photos and client work stay on your own device. There is no signup, no watermark, and no limit on how many images you resize.
Tip: Always resize from the original, full-resolution file — not from a copy that was already shrunk. Downsizing a large original stays sharp; enlarging a small file only makes it softer.
The size cheat sheet: exact dimensions that work
Platform recommendations change over time, so treat these as reliable starting points and check the platform’s current specs for critical work.
For websites and blogs
- Full-width hero or banner image: 1920 × 600 to 1920 × 1080 pixels
- Blog post content image: 1200 pixels wide (height to match your layout)
- Blog featured image: 1200 × 630 pixels — the same size used for link previews
- Product photo: 1200 × 1200 pixels or larger, so zoom features stay sharp
For social media
- Instagram square feed post: 1080 × 1080 pixels
- Instagram portrait post: 1080 × 1350 pixels
- Instagram story or reel cover: 1080 × 1920 pixels
- Facebook feed post: 1200 × 630 pixels
- Facebook cover photo: 851 × 315 pixels
- YouTube thumbnail: 1280 × 720 pixels
- YouTube channel banner: 2560 × 1440 pixels
- LinkedIn post image: 1200 × 627 pixels
- X (Twitter) post image: 1600 × 900 pixels
For print and documents
- A standard 4 × 6 inch print at good quality needs about 1200 × 1800 pixels (300 pixels per inch). For an A4 page, aim for roughly 2480 × 3508 pixels. If your file is far below these numbers, it will look soft in print — you need a higher-resolution original, not a bigger resize.
Retina screens: Modern phones and laptops display images at twice their on-screen size. If crispness matters, export at double the display dimensions — 1600 pixels wide for an 800-pixel slot.
Resizing without losing quality: 5 rules
- Always work from the original. Each round of resizing and re-saving throws away a little quality. Keep the original file untouched and resize copies.
- Lock the aspect ratio by default. Unlock it only when you deliberately want a new shape — and even then, crop to the new ratio first rather than stretching.
- Downscale, do not upscale, when you can. Shrinking removes excess pixels and stays sharp. Enlarging invents pixels that were never captured, so results get softer the further you go. Small enlargements up to about 1.5× usually look acceptable for web use.
- Resize first, then compress. Resizing to the final dimensions before compressing gives the smallest file at the best quality — see our guide on how to compress images without losing quality for the exact settings.
- Match the format to the image. Photos go to JPEG or WebP; screenshots, logos and graphics with text stay crisp as PNG.
Common problems — and what to do
- The image looks stretched or squashed: The aspect ratio was changed. Go back to the original, lock the ratio, and resize again — or crop to the target shape first.
- The resized image looks blurry: It was probably enlarged too far, or resized from an already-small copy. Start again from the largest original you have.
- The file is still too large after resizing: Run the resized image through a compressor — the combination of right size plus compression produces small, sharp files.
- The platform still crops your image: You uploaded the wrong shape for that slot. Resize to the platform’s exact ratio from the cheat sheet above and re-upload.
Frequently asked questions
Will resizing my image make it blurry?
Downsizing generally keeps an image sharp, because you are removing excess pixels rather than stretching existing ones. Upsizing is different: the software must invent new pixels, so results get softer the further you go. Always resize down from the largest original you have.
What is the difference between resizing and cropping?
Resizing changes the dimensions of the whole image — everything stays in frame, just smaller or larger. Cropping cuts away part of the image to change its composition or shape.
What size should I resize images for a website?
Match the display size: 1200 pixels wide works for most blog content images, 1920 pixels wide for full-width banners, and 1200 × 630 for featured images and link previews.
Can I enlarge a small image to a bigger size?
You can, but quality will not improve — upscaling cannot recover detail that was never captured. Small enlargements (up to about 1.5×) usually look acceptable for web use. For large prints, you need a higher-resolution original.
Is it safe to resize photos online?
With a browser-based tool like ours, yes — the image is processed on your own device and never uploaded anywhere. Avoid tools that require uploading sensitive images to an unknown server.
The short answer
Find out the exact pixel size your destination needs, resize from the original with the aspect ratio locked, then compress for the smallest sharp file. Open the free Image Resizer, type in the dimensions, and download — under a minute, no signup.





One Comment