How to Resize an Image for a Facebook Profile Picture, Instagram Post and WhatsApp DP
You upload a favourite photo as your Facebook profile picture, and it comes out cropped across your face. You post the same photo on Instagram, and the edges are cut off. On WhatsApp, your display picture looks blurry and soft. The photo was fine — the size was wrong.
Every platform crops and shrinks your photo to its own dimensions, and if you upload a photo that does not match, the platform decides what to cut. Resizing the image yourself first, to the exact size each platform wants, puts you back in control: your face stays in the frame, nothing important is cut off, and the picture stays sharp.
The exact sizes you need
Profile pictures and posts are small on screen, but each platform still has a size it works best with. These are the numbers to aim for:
- Facebook profile picture: upload at 320 × 320 pixels. Facebook displays it at 170 × 170 on a computer and 128 × 128 on a phone, but uploading at 320 × 320 keeps it sharp on every screen. The picture is shown as a circle, so keep the face in the centre.
- Instagram square post: 1080 × 1080 pixels. This is the size Instagram stores and displays for a square post. Anything smaller gets stretched; anything much larger is shrunk down to this anyway.
- Instagram portrait post: 1080 × 1350 pixels. A tall post takes up more of the feed and gets more attention, but it must be exactly this 4:5 ratio or Instagram crops it.
- WhatsApp DP (display picture): 640 × 640 pixels. WhatsApp shows the picture as a small circle in chats, so a square photo with the face centred works best. Anything bigger is shrunk to this size.
- Facebook cover photo: 820 × 312 pixels on a computer, 640 × 360 on a phone. If you are resizing a banner too, this is the number — but note that a cover is a wide rectangle, not a square, so it needs a different crop from a profile picture.
One photo cannot serve all of these: a square profile picture and a tall Instagram post are different shapes. Resize a separate copy for each platform, and keep the original untouched so you can always make another size later.
How to resize an image for a profile picture — step by step
The free Image Resizer tool resizes in your browser, with no signup and no upload to a server.
- Open the tool in your browser — on a phone or a computer, it works the same way.
- Upload your photo. Tap the upload area and choose the picture from your gallery or files. A JPG or PNG both work.
- Type the exact size you need. For a Facebook profile picture, enter 320 × 320. For an Instagram square post, 1080 × 1080. For a WhatsApp DP, 640 × 640.
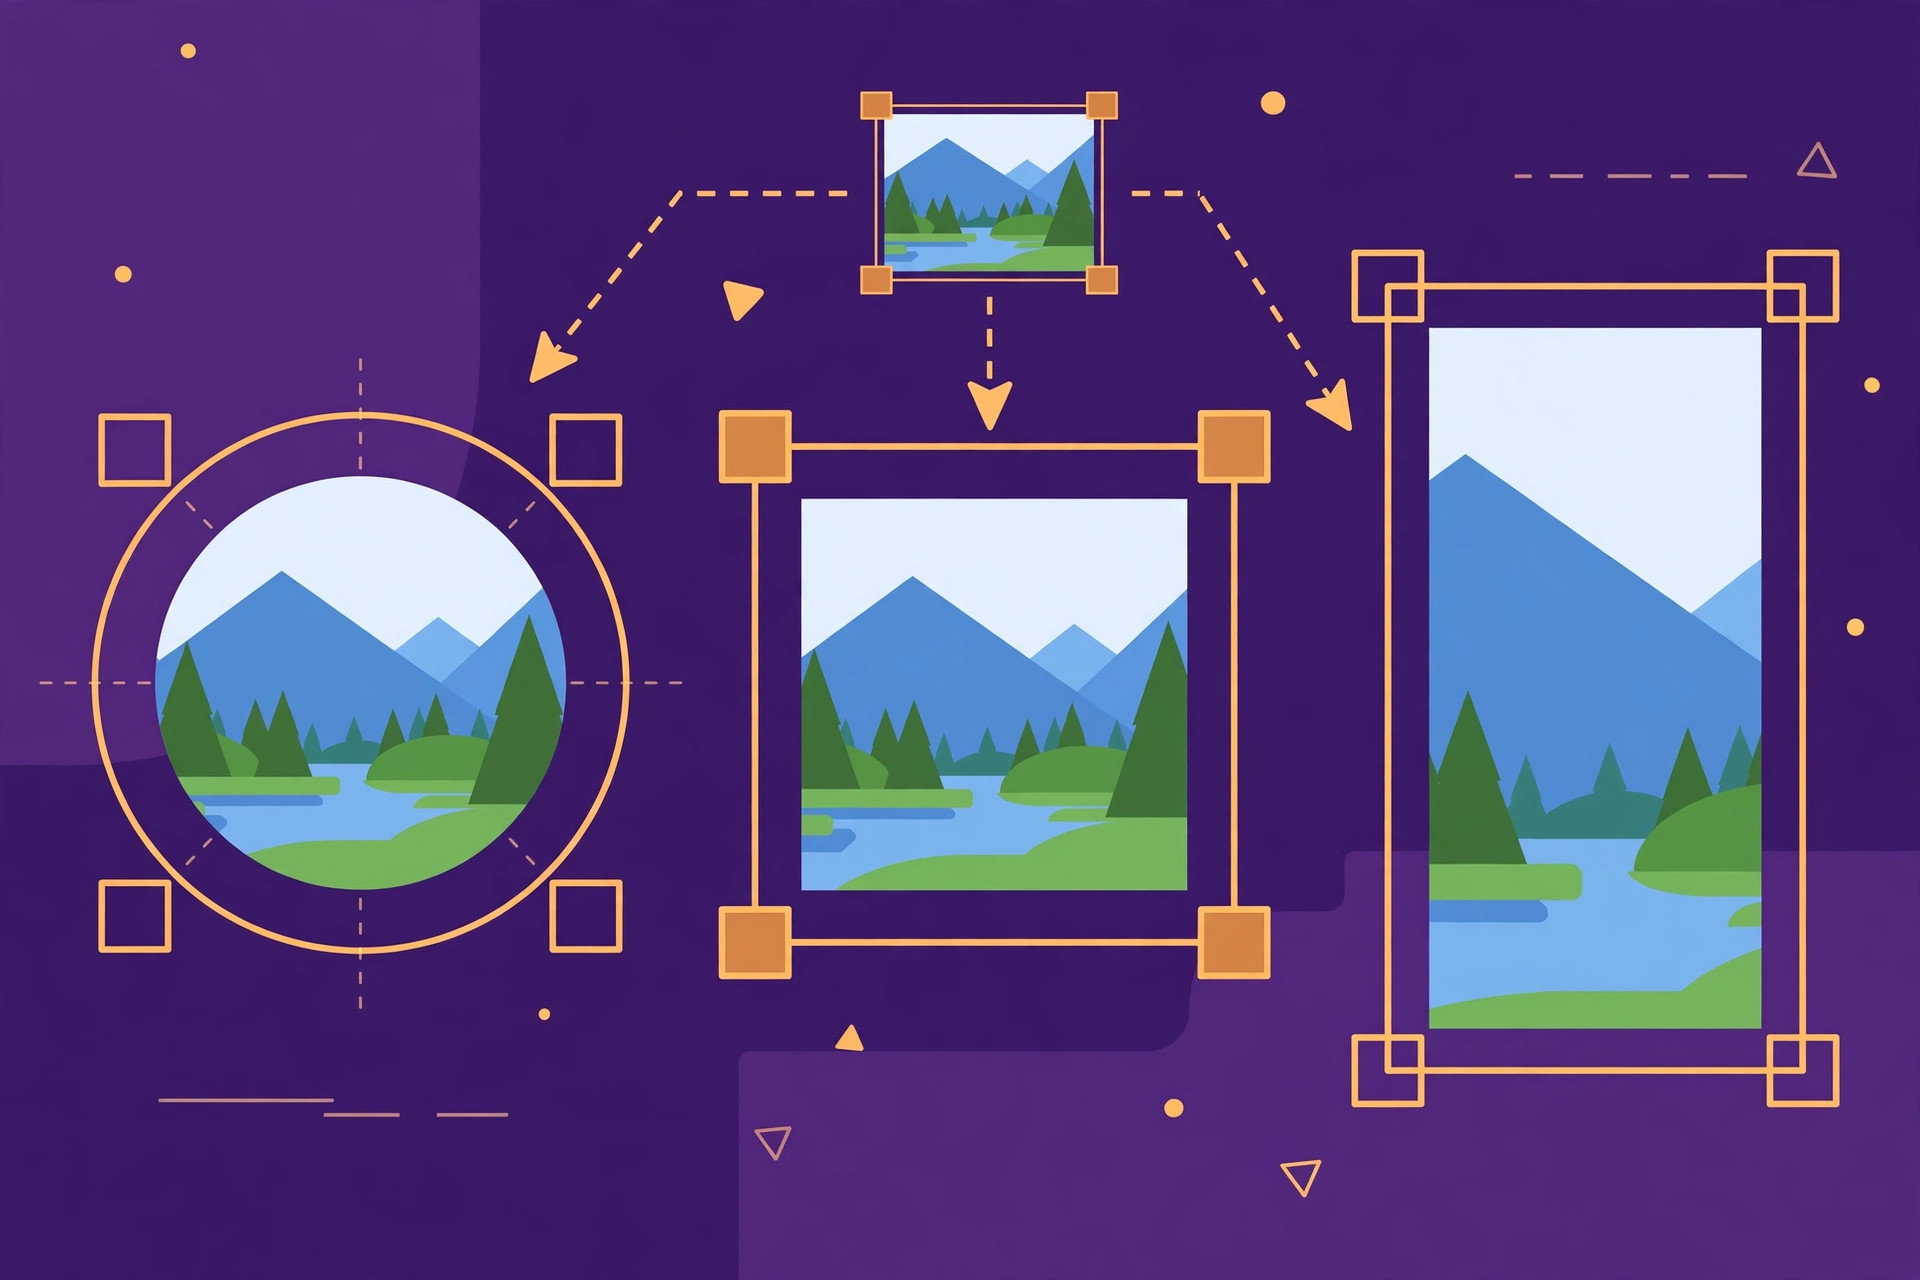
- Crop first if the shape is wrong. A wide landscape photo cannot become a square by resizing alone — it would be squashed. Crop it to a square first, with the face in the centre, then resize to the target size.
- Download the result. The resized photo downloads to your device. Upload that file — not the original — as your profile picture or post.
Repeat the same steps for each platform, starting from the original photo each time. That way every version is made from the best-quality original, not from a copy of a copy.
Cropping vs stretching: the mistake to avoid
The single most common resizing mistake is stretching. When you force a wide photo into a square frame without cropping, everything in it gets squeezed — faces look thin, circles become ovals, and the photo looks obviously wrong. Platforms do this automatically when you upload the wrong shape, which is why so many profile pictures look slightly off.
The fix is simple: crop before you resize. Decide what part of the photo matters — usually the face — cut the photo to the right shape around it, and only then resize to the exact pixels. Cropping removes pixels; resizing shrinks what is left. Done in that order, nothing is ever stretched, and the face stays natural.
For a profile picture, crop to a square with the face in the middle and a little space around it. Remember the photo will be shown as a circle: the corners of your square will be cut off, so keep the face well away from the edges.
Quality tips for sharp profile pictures
- Start from the best original you have. A photo that is already small cannot be made sharp by resizing it bigger — resizing up only makes the blur bigger. Always start from the largest, clearest copy of the photo.
- Use JPG for photos. JPG is the right format for photographs on every platform. PNG is fine too, but the file is much larger for no visible benefit.
- Do not resize the same file twice. Each time a photo is shrunk and saved, a little detail is lost. Always resize from the original, and keep the original safe.
- Check the result at real size. Before you upload, open the resized photo and look at it at the size it will actually be shown — small, on a phone screen. If the face is still clear at that size, it is ready.
- Leave space around the face. A face that fills the whole frame gets its chin or forehead cut off when the platform crops to a circle. A small margin around the face keeps it safe on every platform.
Common mistakes — and what to do
- “My profile picture is blurry”: The photo you uploaded was too small, and the platform stretched it. Upload at the full recommended size — 320 × 320 for Facebook, 640 × 640 for WhatsApp — made from a good original.
- “My face is cut off”: The photo was cropped by the platform, not by you. Crop it yourself first, with the face in the centre, and keep it away from the corners that become a circle.
- “The Instagram post cut off the edges”: You uploaded a photo in the wrong ratio. Instagram square posts are 1080 × 1080; portrait posts are 1080 × 1350. Resize to one of those exact sizes before posting.
- “The photo looks stretched”: It was forced into a shape it does not fit. Crop to the right shape first, then resize — never stretch.
- “It looks fine on my phone but bad on a computer”: The upload was too small for the bigger screen. Use the full upload size for the platform (320 × 320 for Facebook, for example), not the small size it displays at.
Frequently asked questions
What size should a Facebook profile picture be? Upload it at 320 × 320 pixels. Facebook displays it smaller — 170 × 170 on a computer and 128 × 128 on a phone — but uploading at 320 × 320 keeps it sharp on every screen. The picture is shown as a circle, so keep the face centred.
What size is an Instagram square post? 1080 × 1080 pixels. That is the size Instagram stores and displays for square posts. For a taller portrait post, use 1080 × 1350 pixels instead.
What size should a WhatsApp DP be? 640 × 640 pixels. WhatsApp shows the picture as a small circle in chats, so use a square photo with the face in the centre and a little space around it.
How do I resize an image without losing quality? Start from the largest, clearest original you have, crop to the right shape first, and resize down to the exact size — never resize a photo bigger than the original. Use JPG for photographs, and always resize from the original rather than from an already-resized copy.
Can I resize an image for free without an app? Yes. The free Image Resizer tool runs in your browser with no signup — upload the photo, type the size you need, and download the result. It works on a phone or a computer.
The short answer
Each platform wants its own size: Facebook profile 320 × 320, Instagram square post 1080 × 1080, WhatsApp DP 640 × 640. Crop the photo to the right shape first — face centred, away from the corners — then resize to the exact pixels and upload that file. For the general guide to resizing for the web, social media and print, see how to resize an image.